Configuring DragonDisk
DragonDisk is a cross-platform, S3-compatible client with a graphical user interface available for Linux, Mac OS X, and Windows. The following guide describes configuration of DragonDisk for use with Riak CS.
Configuration for Linux
DragonDisk is available for multiple Linux distributions. This section specifically describes configuration for Ubuntu Linux version 12.04 (Precise Pangolin) 32 bit, but the configuration will be similar for other Linux distributions.
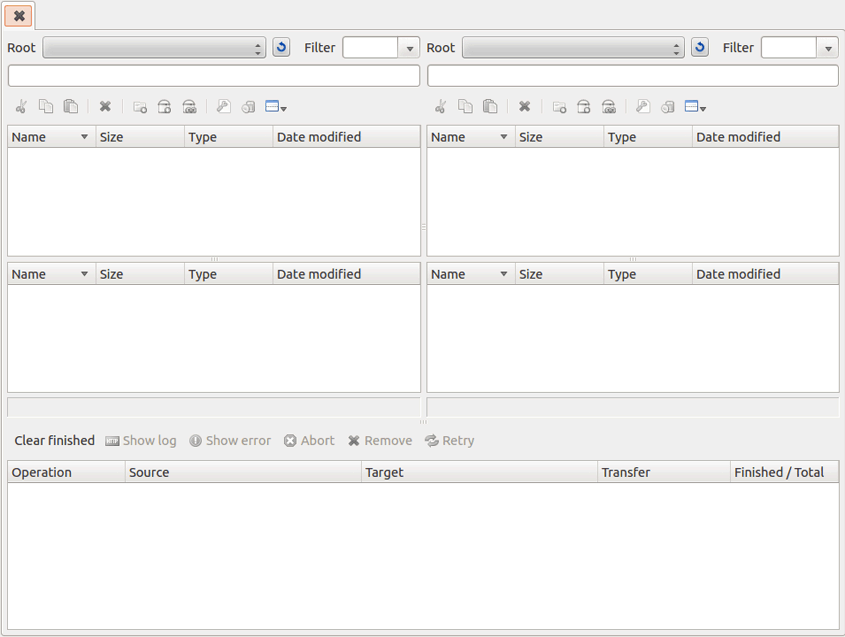
This is the main DragonDisk window as it appears upon starting the application.
Create an account
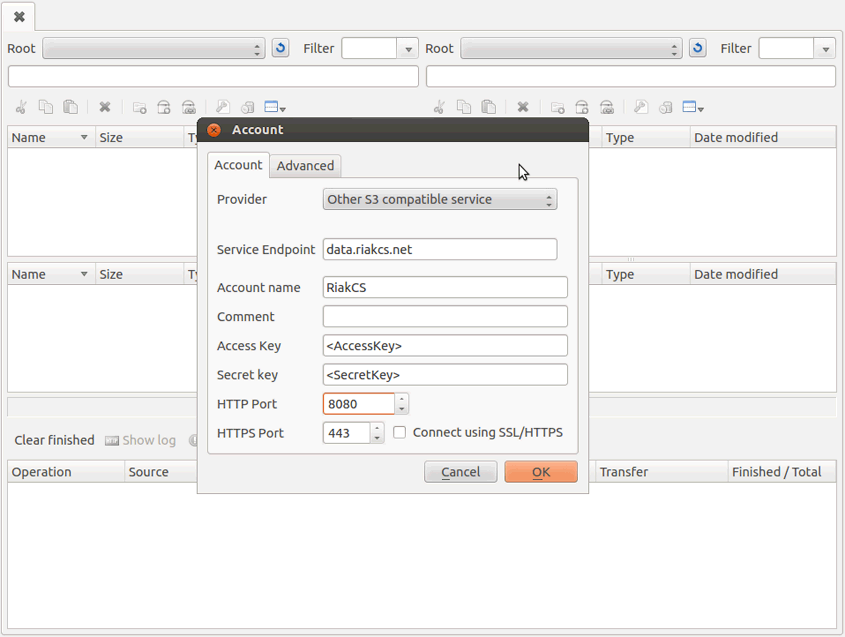
Before you can connect DragonDisk to Riak CS, you’ll need to create and save an account. The following describes the process for doing so.
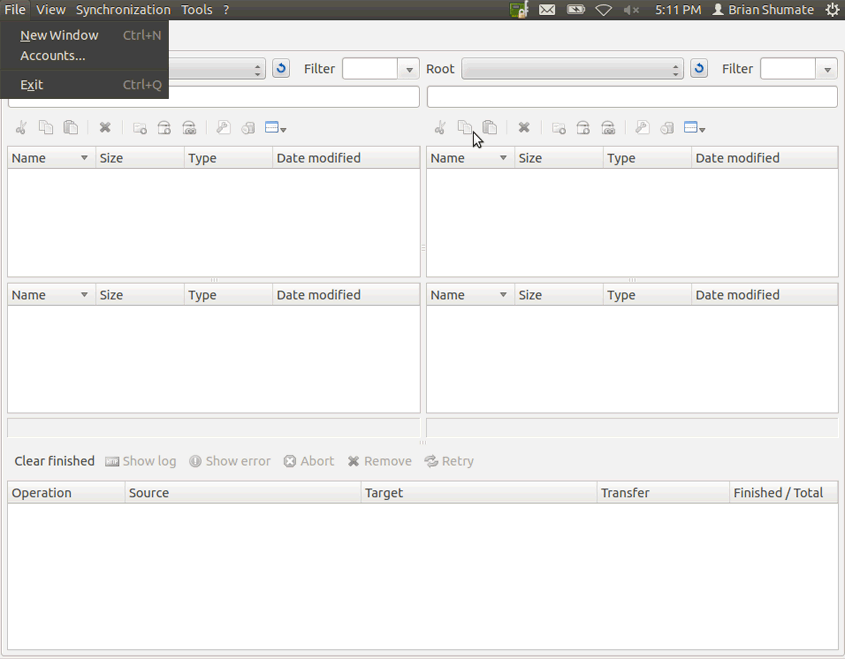
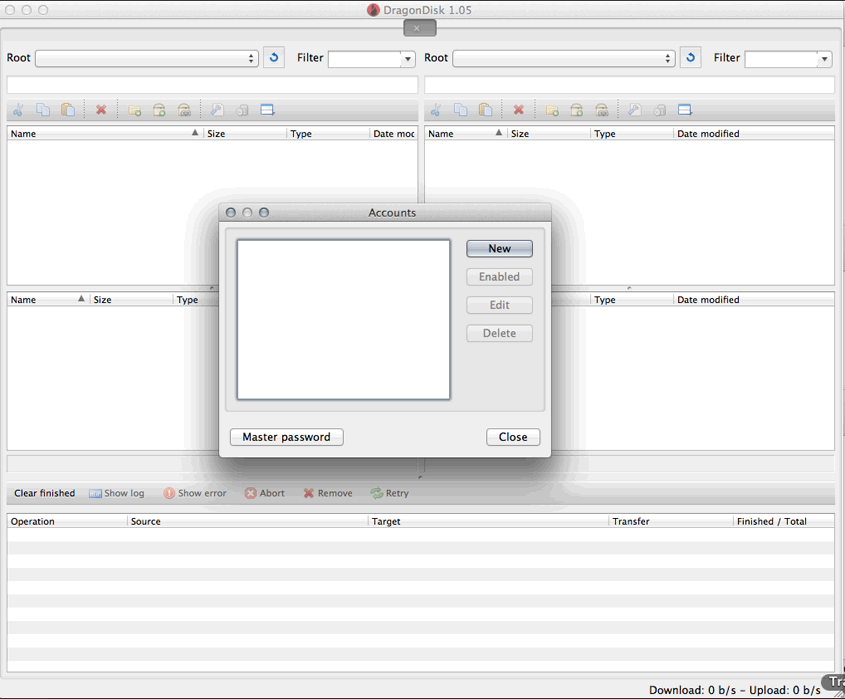
- From the File menu, select Accounts.
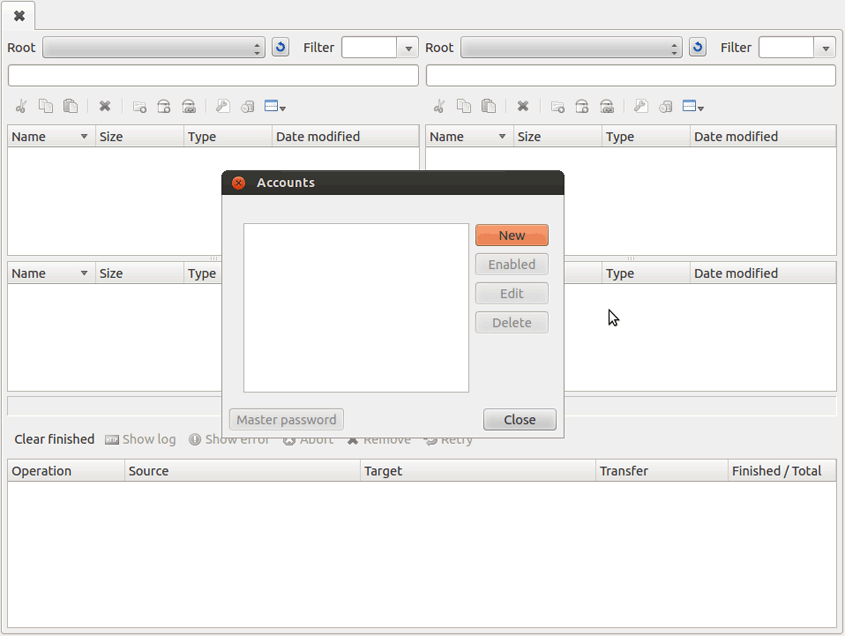
- Click New.
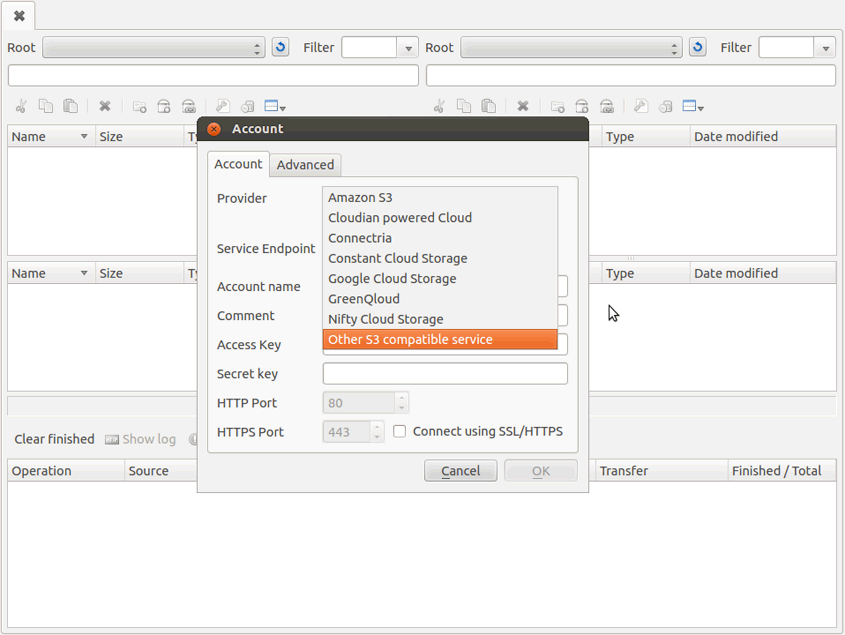
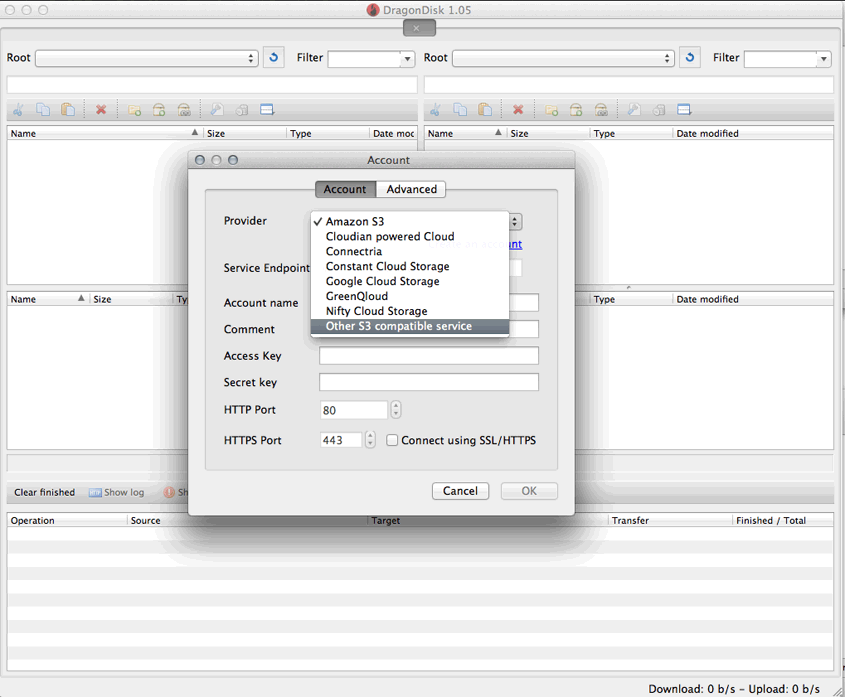
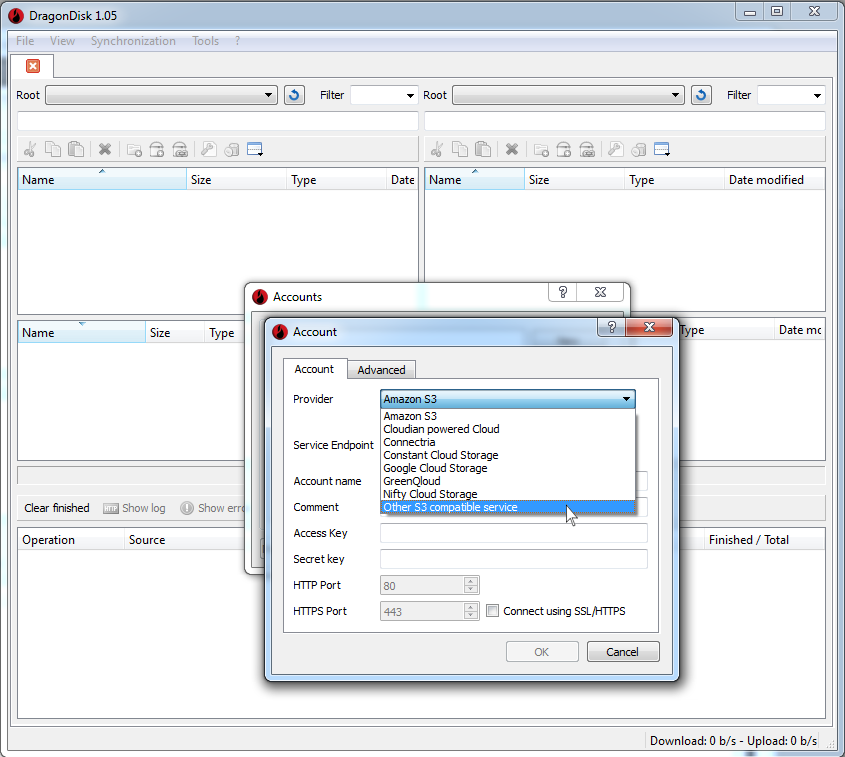
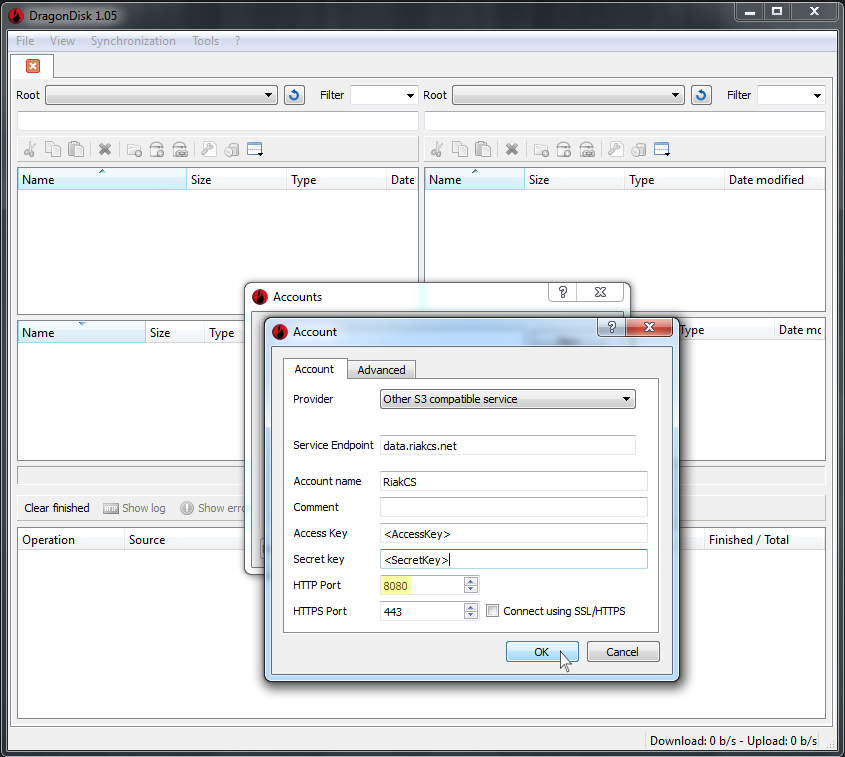
- In the Account dialog window, choose Other S3 compatible service under the Provider drop down menu.
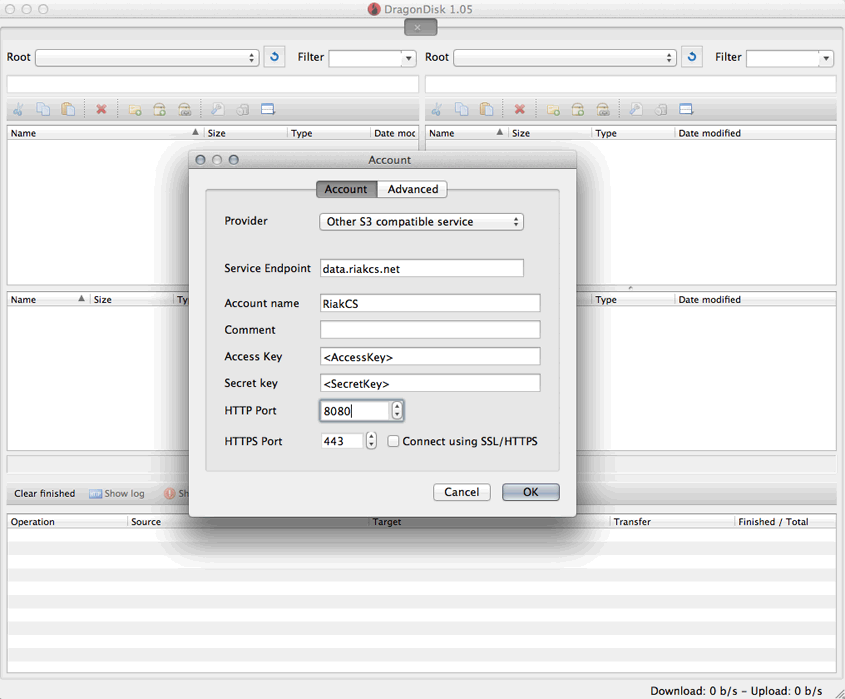
- Enter the hostname or IP address of your Riak CS cluster’s public interface into the Service Endpoint field.
- Enter your Riak CS username into the Account name field.
- Enter the access key associated with your username into the Access Key field.
- Enter the secret key associated with your username into the Secret Key field.
- Enter the Riak CS public interface HTTP port into the HTTP Port field.
If you’ll be using HTTPS, be sure to enter the correct public HTTPS port into the HTTPS Port field and click the Connect using SSL/HTTS check box.
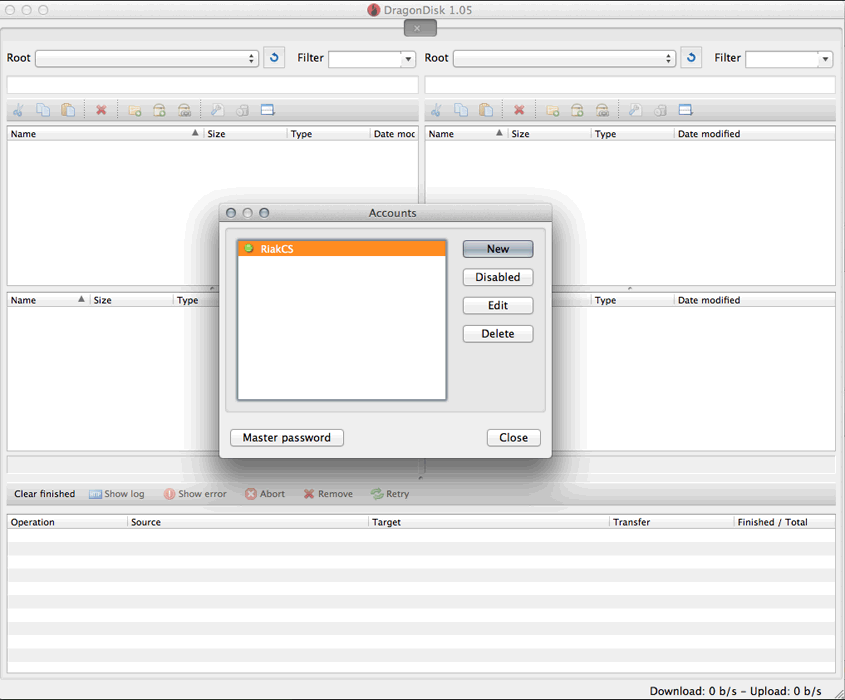
- Click OK to save the account configuration.
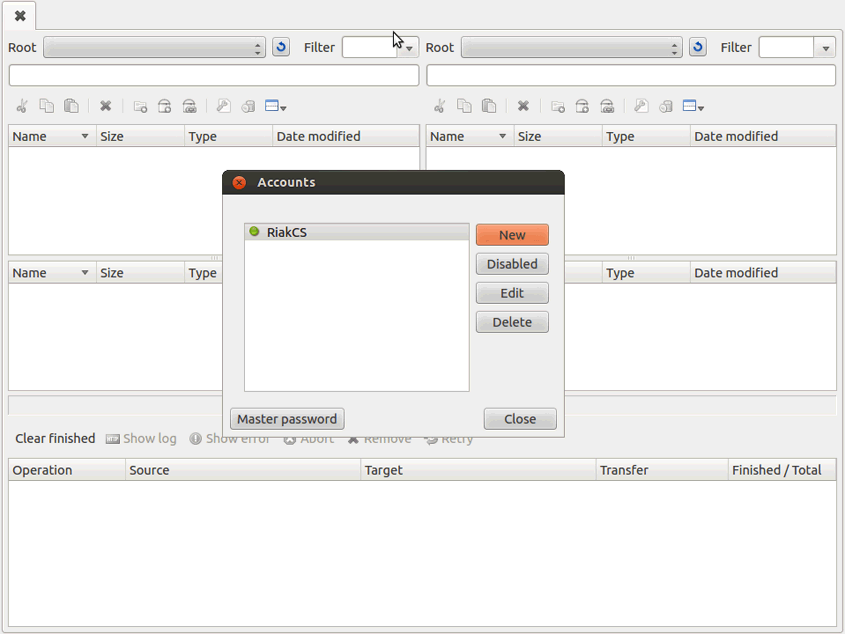
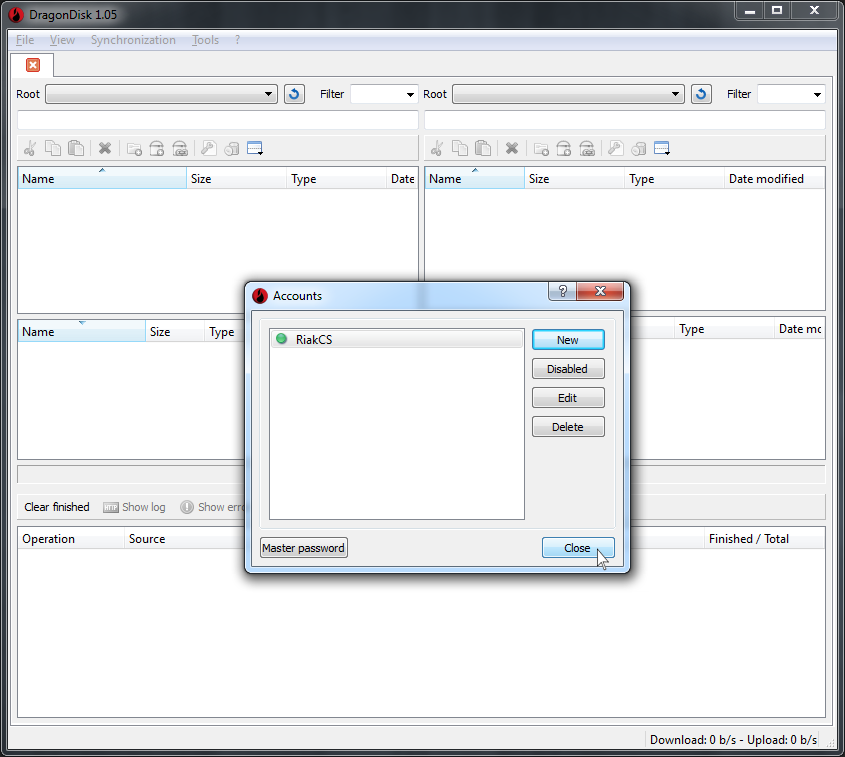
- Click Close to complete account creation and to continue to attempt connecting to Riak CS.
Connect to Riak CS
Now let’s try to connect to Riak CS with the newly defined account configuration.
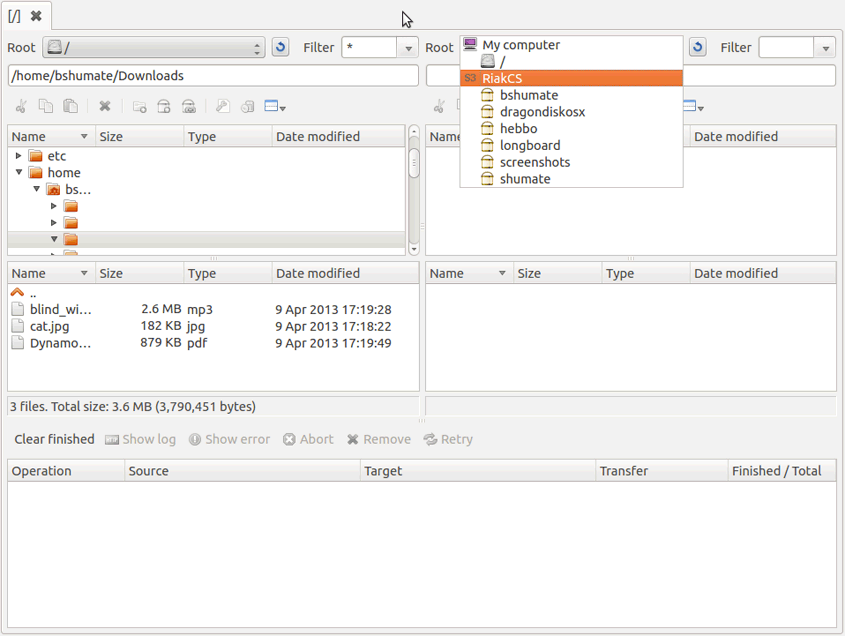
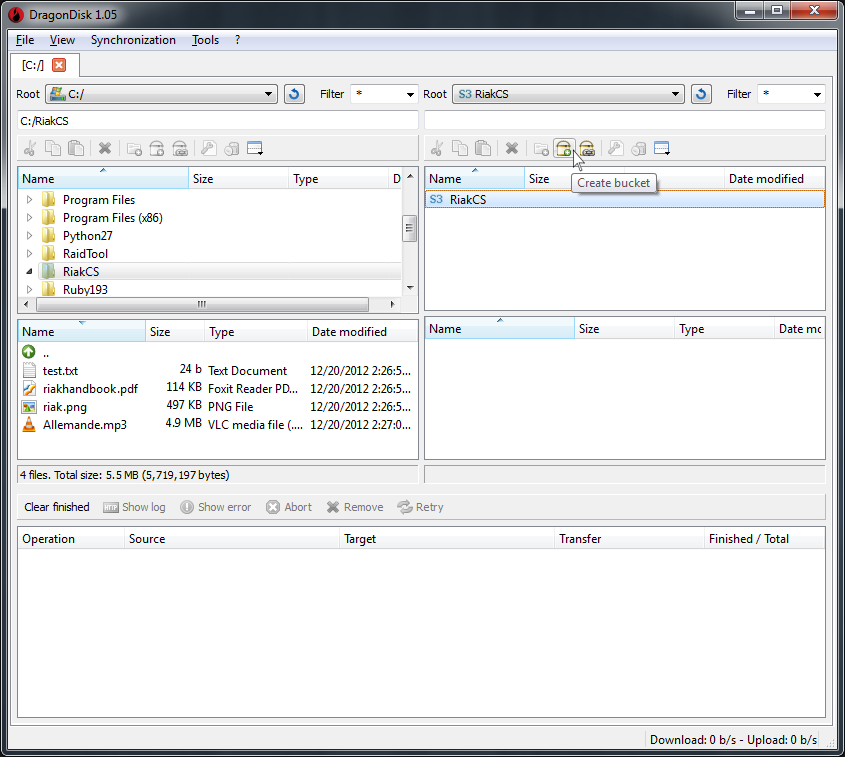
- In the Root drop down menu on the right pane of the DragonDisk interface, select the Riak CS account definition that you created.
- If no error occurs and you see the account definition appear in the right pane, then you’re connected to Riak CS and can proceed to creating a bucket.
Create a bucket
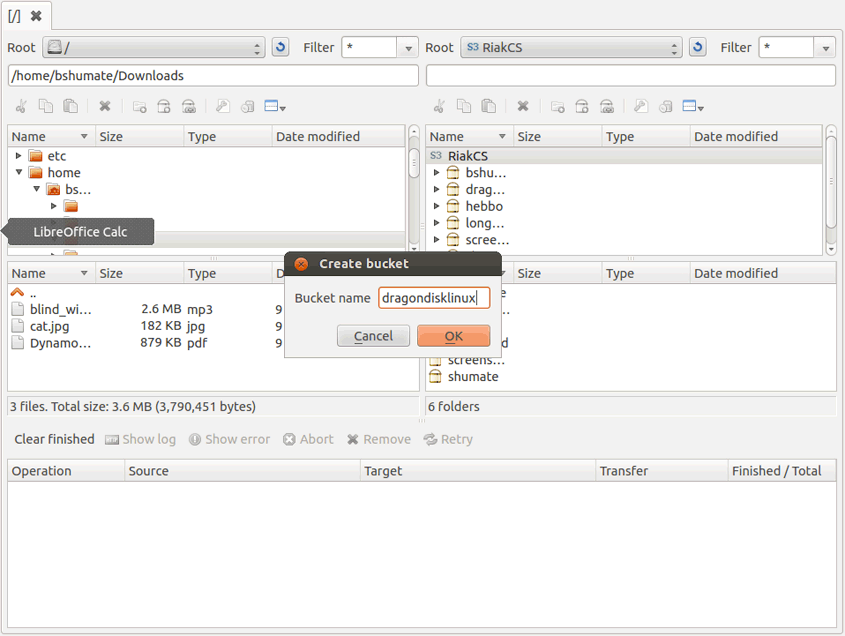
Now that you’re connected, create a bucket for testing file access with Riak CS.
- Click the Create bucket icon to open the bucket creation dialog.

- In the Create bucket dialog, give the bucket a name. In this
example we’re naming the bucket
dragondisklinux. - Click OK to create the bucket.
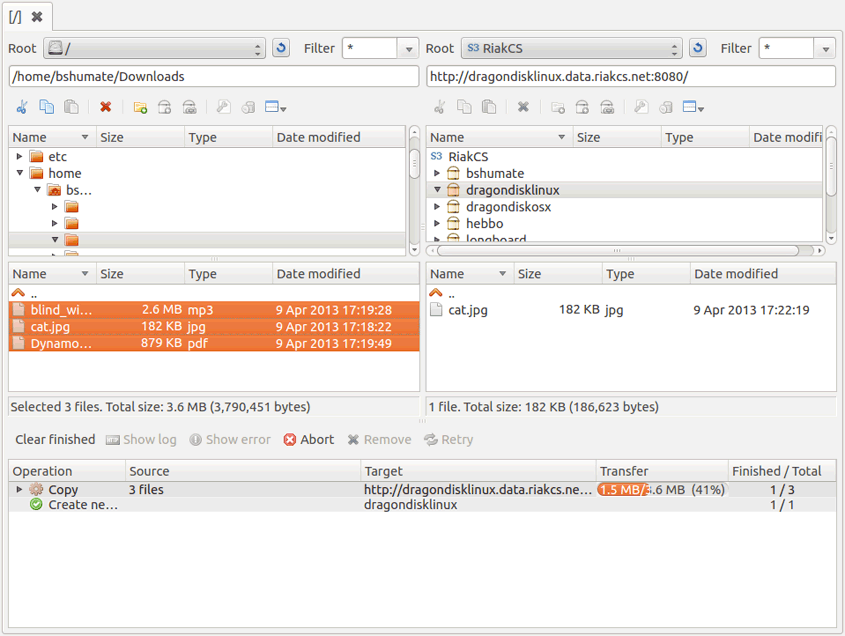
- The bucket should now appear in the right pane and you can now proceed with copying some test files into the bucket.
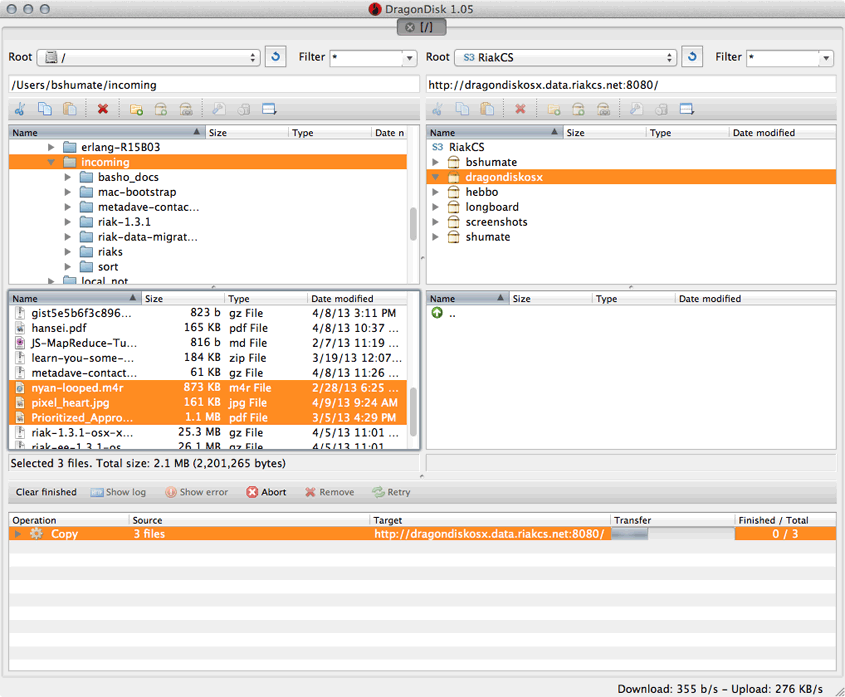
Copy files to bucket
Finally, navigate your local computer in the left pane and select a file or files to copy from your local computer to the newly created Riak CS bucket.
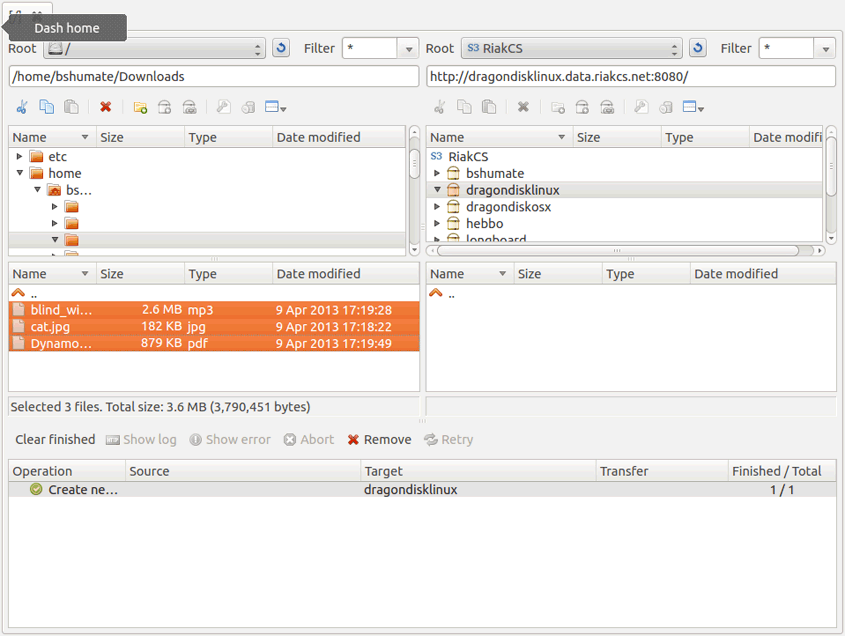
- After selecting a file or files, you can drag them to the bucket you created in the right pane and the copy operation will begin.
- After the files are copied, they’ll appear in the bucket.
- You have now successfully verified connectivity, bucket creation, and file copying operations for your Riak CS installation with DragonDisk.
Consult the DragonDisk documentation for details on performing other operations.
Configuration for Mac OS X
This section describes configuration of DragonDisk for Mac OS X.
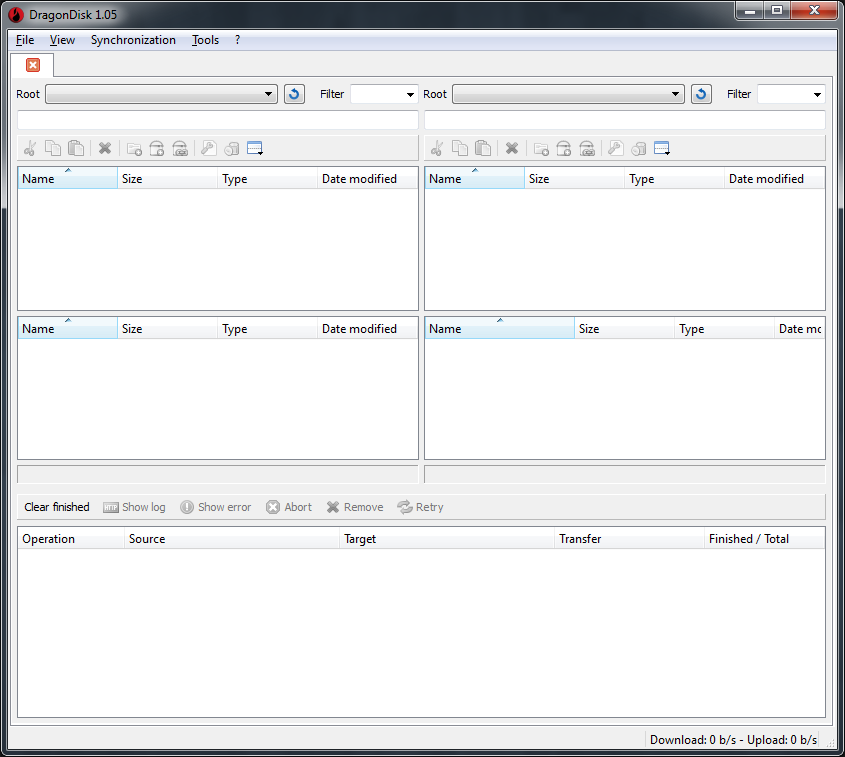
- This is the main DragonDisk window as it appears upon starting the application.
Create an account
Before you can connect DragonDisk to Riak CS, you’ll need to create and save an account. The following describes the process for doing so.
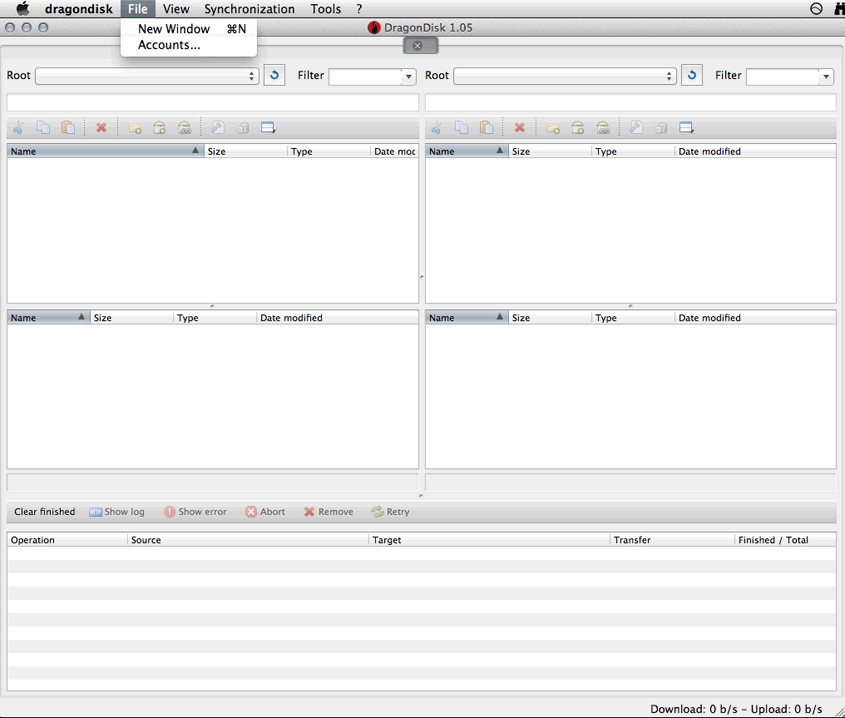
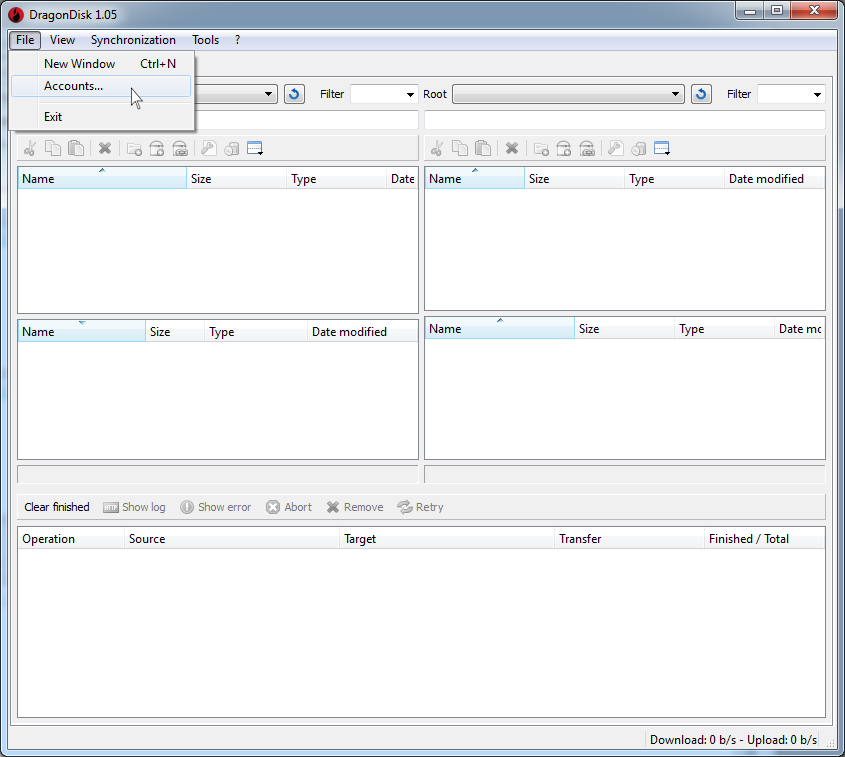
- From the File menu, select Accounts.
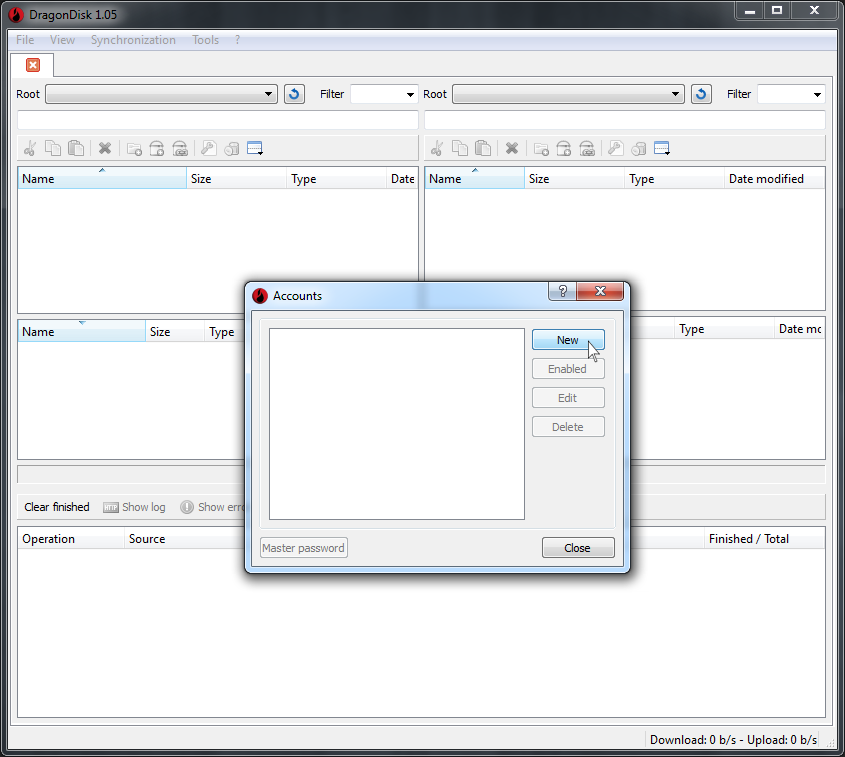
- Click New.
- In the Account dialog window, choose Other S3 compatible service under the Provider drop down menu.
- Enter the hostname or IP address of your Riak CS cluster’s public interface into the Service Endpoint field.
- Enter your Riak CS username into the Account name field.
- Enter the access key associated with your username into the Access Key field.
- Enter the secret key associated with your username into the Secret Key field.
- Enter the Riak CS public interface HTTP port into the HTTP Port field.
If you’ll be using HTTPS, be sure to enter the correct public HTTPS port into the HTTPS Port field and click the Connect using SSL/HTTS check box.
- Click OK to save the account configuration.
- Click Close to complete account creation and continue try connecting to Riak CS.
Connect to Riak CS
Now let’s try to connect to Riak CS with the newly defined account configuration.
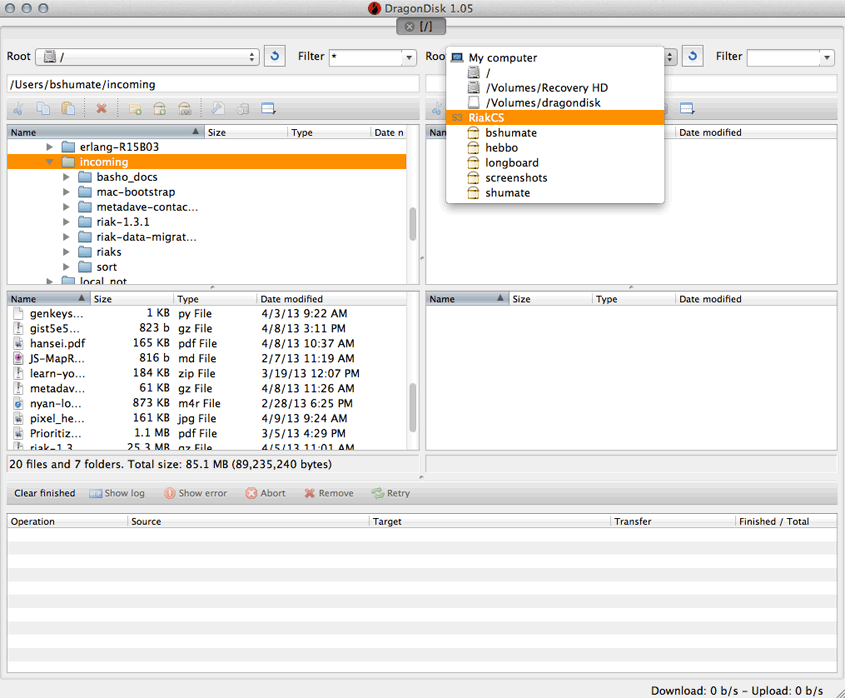
- In the Root drop down menu on the right pane of the DragonDisk interface, select the Riak CS account definition that you created.
- If no error occurs and you see the account definition appear in the right pane, then you’re connected to Riak CS and can proceed to creating a bucket.
Create a bucket
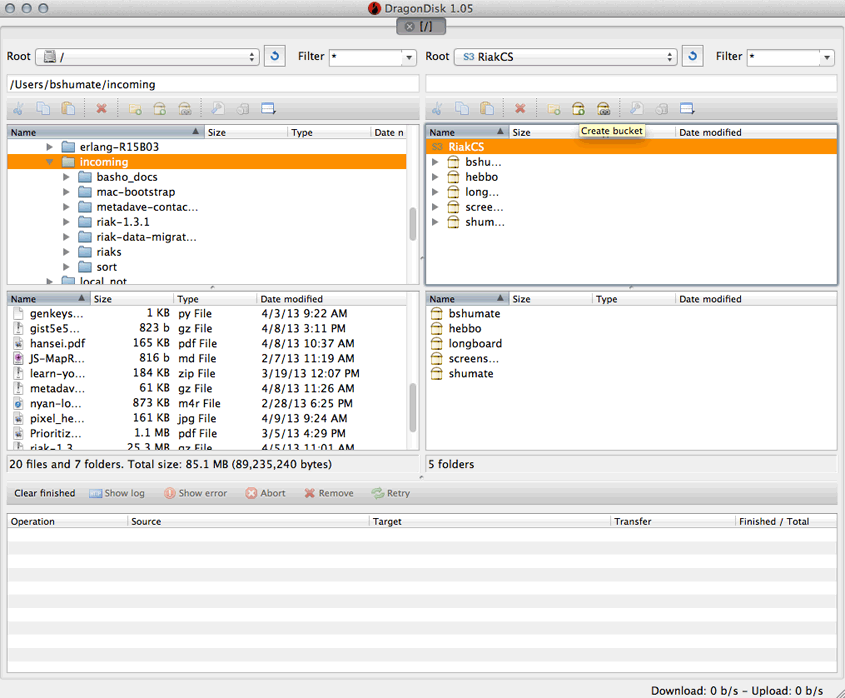
Now that you’re connected, create a bucket for testing file access with Riak CS.
- Click the Create bucket icon to open the bucket creation dialog.
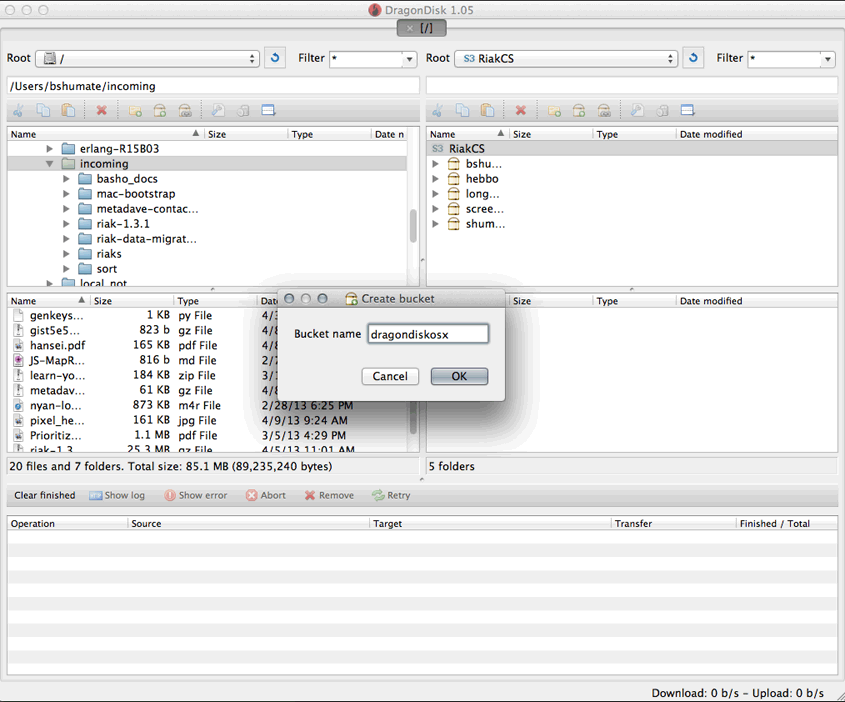
- In the Create bucket dialog, give the bucket a name. In this example we’re naming the bucket dragondiskosx.
- Click OK to create the bucket.
- The bucket should now appear in the right pane and you can now proceed with copying some test files into the bucket.
Copy files to bucket
Finally, navigate your local computer in the left pane and select a file or files to copy from your local computer to the newly created Riak CS bucket.
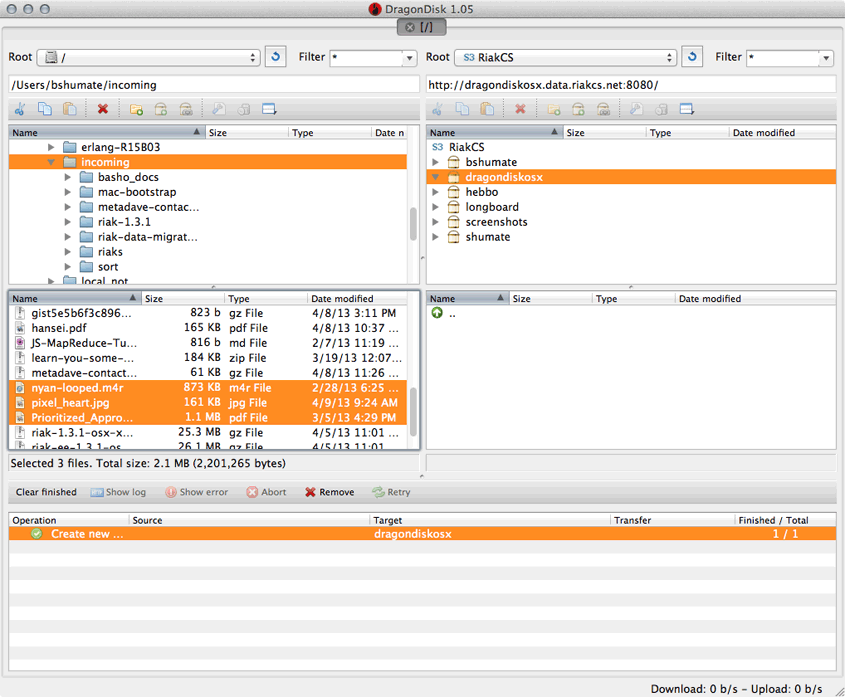
After selecting a file or files, you can drag them to the bucket you created in the right pane and the copy operation will begin.
After the files are copied, they’ll appear in the bucket.
- You have now successfully verified connectivity, bucket creation, and file copying operations for your Riak CS installation with DragonDisk.
Consult the DragonDisk documentation for details on performing other operations.
Configuration for Windows
This section describes configuration of DragonDisk for Windows.
- This is the main DragonDisk window as it appears upon starting the application.
Create an account
Before you can connect DragonDisk to Riak CS, you’ll need to create and save an account. The following describes the process for doing so.
- From the File menu, select Accounts.
- Click New.
- In the Account dialog window, choose Other S3-compatible service under the Provider drop down menu.
- Enter the hostname or IP address of your Riak CS cluster’s public interface into the Service Endpoint field.
- Enter your Riak CS username into the Account name field.
- Enter the access key associated with your username into the Access Key field.
- Enter the secret key associated with your username into the Secret Key field.
- Enter the Riak CS public interface HTTP port into the HTTP Port field.
If you’ll be using HTTPS, be sure to enter the correct public HTTPS port into the HTTPS Port field and click the Connect using SSL/HTTS check box.
- Click OK to save the account configuration.
- Click Close to complete account creation and continue try connecting to Riak CS.
Connect to Riak CS
Now let’s try to connect to Riak CS with the newly defined account configuration.
- In the Root drop down menu on the right pane of the DragonDisk interface, select the Riak CS account definition that you created.
- If no error occurs and you see the account definition appear in the right pane, then you’re connected to Riak CS and can proceed to creating a bucket.

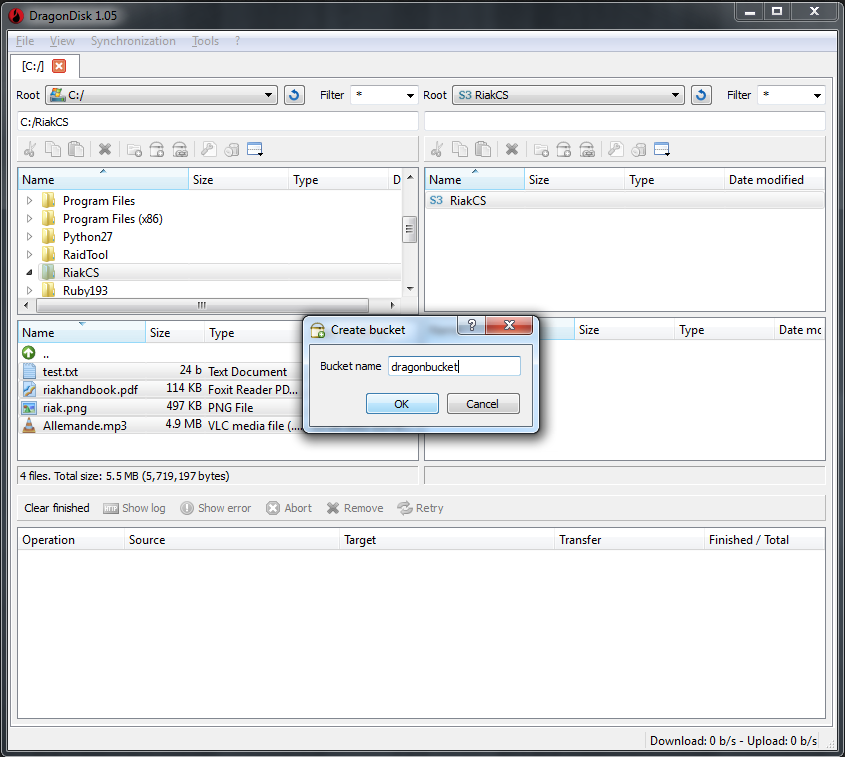
Create a bucket
- Now that you’re connected, create a bucket for testing file access with Riak CS.
- Click the Create bucket icon to open the bucket creation dialog.
- In the Create bucket dialog, give the bucket a name. In this example we’re naming the bucket dragonbucket.
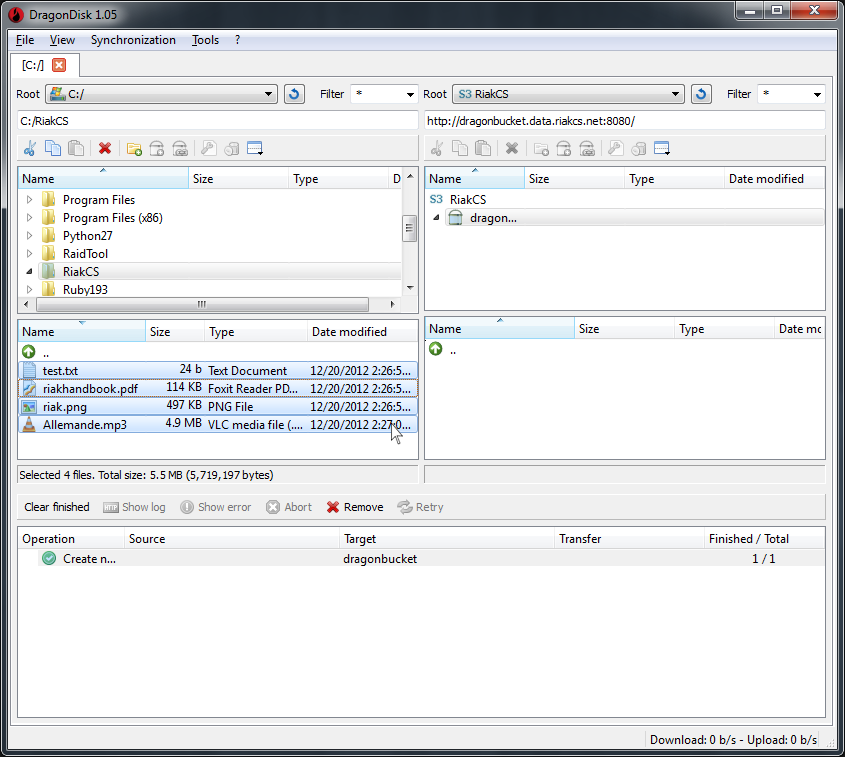
- Click OK to create the bucket.
- The bucket should now appear in the right pane and you can now proceed with copying some test files into the bucket.
Copy files to bucket
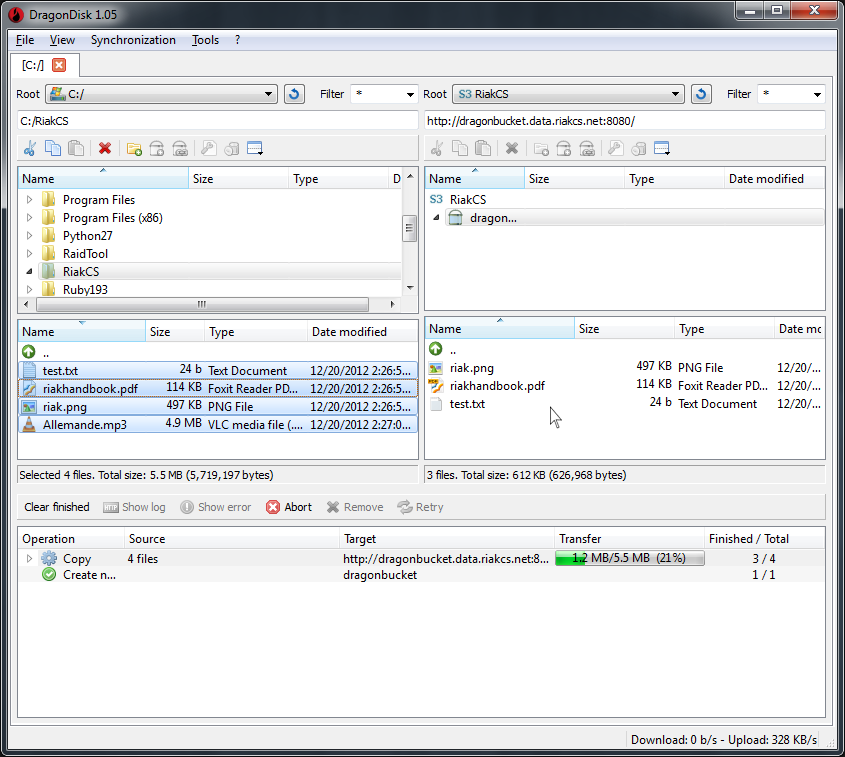
Finally, navigate your local computer in the left pane and select a file or files to copy from your local computer to the newly created Riak CS bucket.
- After selecting a file or files, you can drag them to the bucket you created in the right pane and the copy operation will begin.
- After the files are copied, they’ll appear in the bucket.
- You have now successfully verified connectivity, bucket creation, and file copying operations for your Riak CS installation with DragonDisk.
Consult the DragonDisk documentation for details on performing other operations.